
Introduction
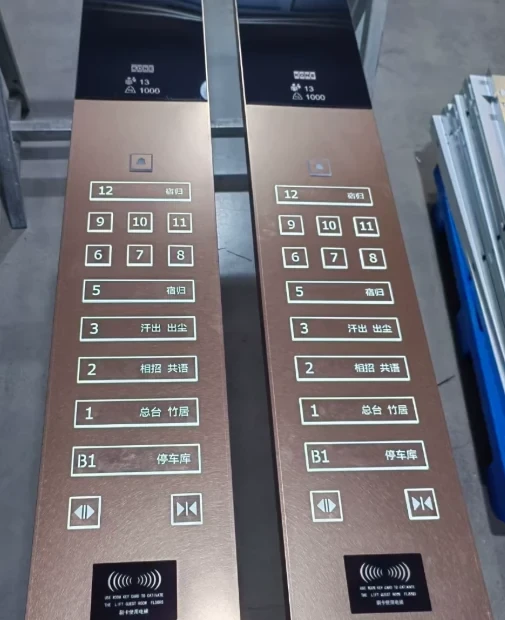
Lift buttonsAre among the most frequently used components in an elevator system. Every day, passengers interact with elevator buttons on the car operating panel and landing operating panel.
Although an elevator button is a relatively small component, a failed button can affect passenger operation, accessibility, elevator communication with the controller, and overall user experience.
For elevator maintenance technicians, understanding the difference between COP buttons, LOP buttons, indicator buttons, touch buttons, and other elevator control interfaces is essential.
A complete button inspection should not only focus on whether the button lights up. Technicians should also consider:
- Mechanical condition
- Electrical contacts
- Wiring
- Button illumination
- Communication
- Controller input
- Panel condition
- Connector condition
This guide explains how elevator buttons work, common button failures, inspection procedures, testing methods, replacement procedures, and how to select compatible lift spare parts.
What Are Lift Buttons?
Lift buttons are user input devices installed in elevator control panels.
Depending on the elevator design, buttons may be installed on:
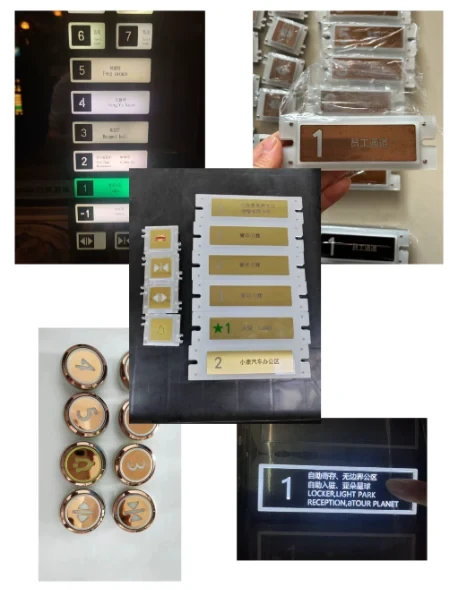
- Car Operating Panel (COP)
- Landing Operating Panel (LOP)
- Accessibility panels
- Service panels
- Special control panels
Passengers use them to send commands to the elevator control system.
For example, a passenger may press:
- Floor selection button
- Door open button
- Door close button
- Alarm button
- Emergency call button
The elevator controller then processes the corresponding input.
COP Buttons vs. LOP Buttons
Understanding the difference between COP and LOP buttons is important when ordering an elevator spare part.
COP — Car Operating Panel
COP buttons are installed inside the elevator car.
Typical buttons include:
- Floor buttons
- Door open
- Door close
- Alarm
- Emergency communication
- Independent/service operation buttons depending on the design
LOP — Landing Operating Panel
LOP buttons are installed on elevator landing floors.
Typical functions include:
- Up call
- Down call
- Hall call
- Special service functions depending on the elevator system
Some elevator systems use a single hall call button, while others use separate up and down buttons.
Common Types of Elevator Buttons
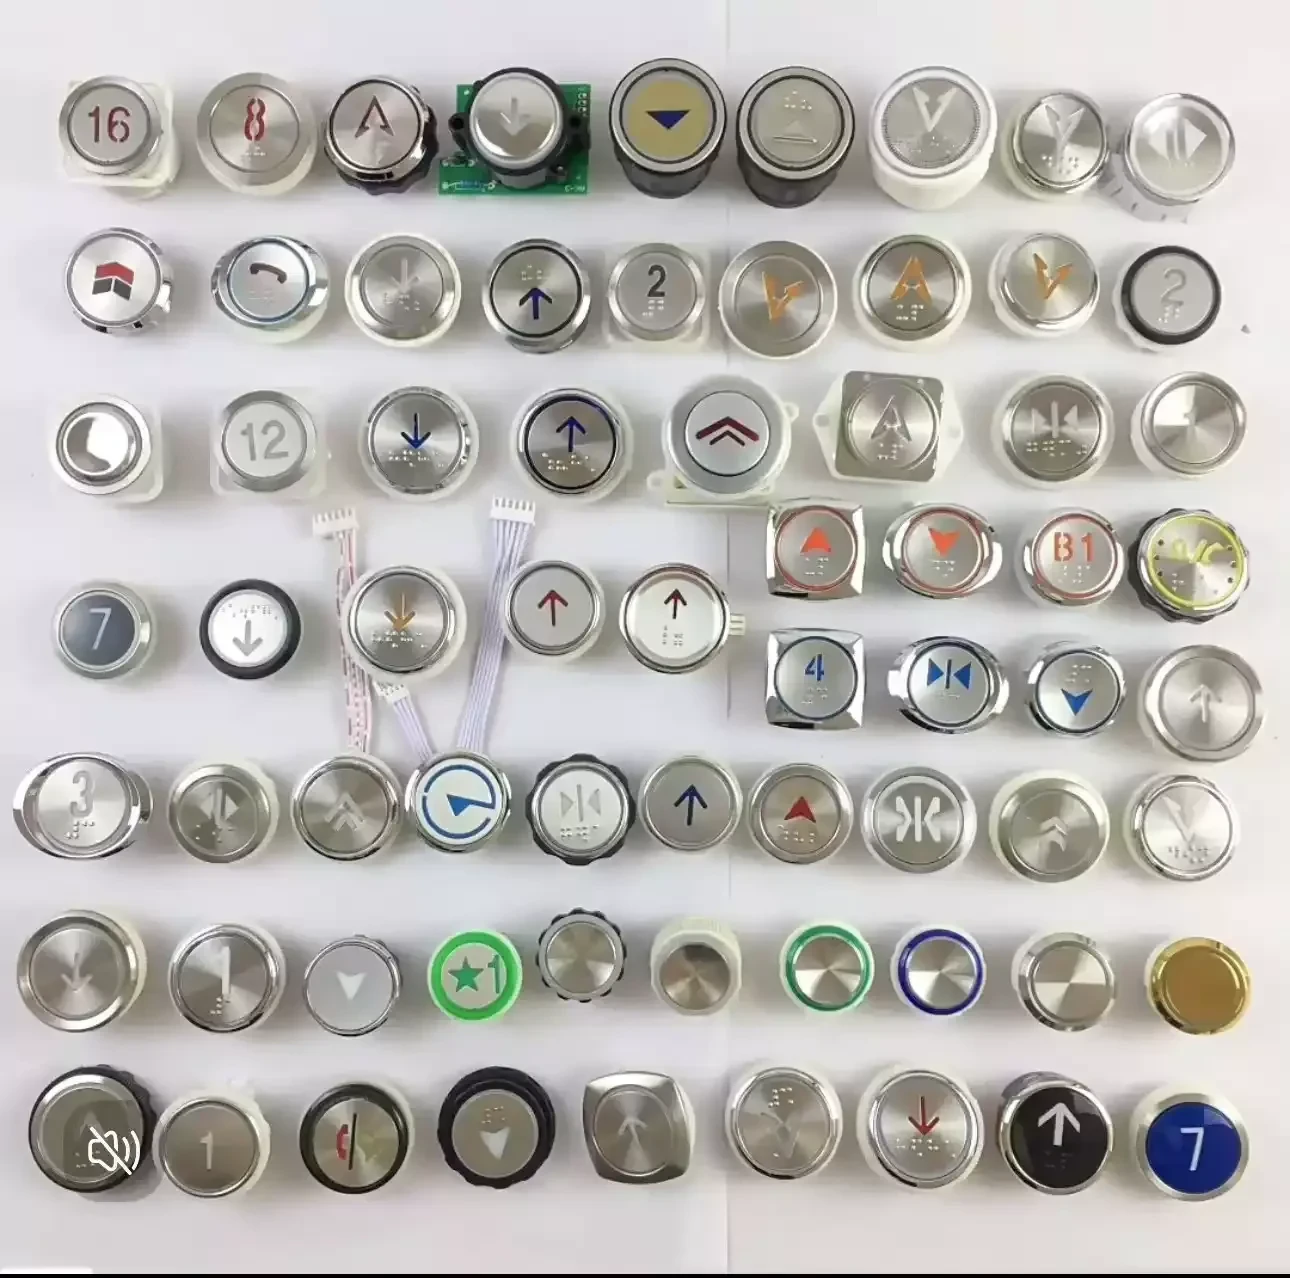
Different elevator systems use different button technologies.
Mechanical Push Buttons
Traditional push buttons use physical movement and electrical contacts.
Advantages include:
- Simple construction
- Easy operation
- Easy replacement
- Long service history
Illuminated Elevator Buttons
These buttons include an indicator light to show that the command has been registered.
The indicator may use:
- LED
- Lamp
- Integrated electronic indicator
Braille Elevator Buttons
Accessibility requirements may require buttons with tactile or Braille markings.
These buttons allow visually impaired passengers to identify floor selections.
Touch-Sensitive Buttons
Some modern elevator panels use touch-sensitive or capacitive interfaces.
These systems may have different:
- Wiring
- Controllers
- Communication methods
- Troubleshooting procedures
Main Components of an Elevator Button
A conventional elevator button may include:
- Button cap
- Push mechanism
- Electrical contact
- LED or indicator
- Housing
- Connector
- Wiring
The exact construction depends on the manufacturer and model.
Common Elevator Button Problems
1. Button Does Not Respond
The passenger presses the button, but the elevator does not register the command.
Possible causes include:
- Damaged button contact
- Broken wiring
- Loose connector
- Faulty input circuit
- Communication problem
- Controller input failure
Do not immediately replace the button.
The complete input circuit should be checked.
2. Button Does Not Light Up
The button may work electrically but fail to illuminate.
Possible causes include:
- Failed LED
- Broken lamp
- Loose connector
- Incorrect voltage
- Damaged circuit board
A button that does not illuminate does not always mean that the actual command input has failed.
3. Button Sticks
A button may remain partially depressed after being pressed.
Possible causes include:
- Mechanical wear
- Dirt
- Damaged button cap
- Internal deformation
- Misalignment
A sticking button should be repaired or replaced before it affects normal operation.
4. Button Requires Excessive Force
If a passenger must press unusually hard, inspect the button mechanism.
Possible causes include:
- Mechanical wear
- Contamination
- Damaged spring
- Misalignment
- Internal component damage
5. Intermittent Button Operation
This is one of the more difficult problems to diagnose.
A button may work normally several times and then fail.
Possible causes include:
- Worn contact
- Loose wiring
- Poor connector contact
- Damaged PCB
- Communication instability
Technicians should reproduce the fault and inspect the complete circuit.
Step-by-Step Elevator Button Inspection
Step 1 — Perform a Visual Inspection
Check:
- Button cap
- Markings
- LED indicator
- Panel surface
- Screws
- Connectors
Look for cracks, discoloration, deformation, or loose components.
Step 2 — Test the Mechanical Action
Press the button several times.
Check:
- Travel distance
- Return action
- Button feel
- Sticking
- Abnormal noise
The button should return to its normal position after activation.
Step 3 — Check Electrical Connections
Inspect:
- Connector
- Wiring
- Terminals
- PCB connections
Loose connections can cause intermittent failures.
Step 4 — Test the Button Input
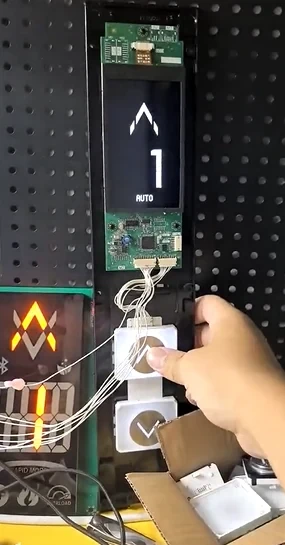
Using appropriate elevator testing tools, technicians can verify whether the button produces the expected electrical signal.
Depending on the elevator design, this may involve:
- Continuity testing
- Voltage measurement
- Input signal verification
- Controller diagnostic information
The correct testing method depends on the button and controller design.
Step 5 — Check the Indicator
If the button has illumination, verify:
- LED/lamp condition
- Supply voltage
- Connector
- Polarity where applicable
- Indicator circuit
Step 6 — Check the Controller Input
If the button itself appears normal but the elevator does not respond, inspect the corresponding controller input.
This helps distinguish a button failure from a controller or communication problem.
Elevator Testing Tools for Button Maintenance
Professional technicians may use:
| Tool | Purpose |
|---|---|
| Digital Multimeter | Voltage and continuity testing |
| DC Voltage Tester | Low-voltage circuit verification |
| Insulated Screwdriver | Panel maintenance |
| Inspection Light | Visual inspection |
| Connector Test Leads | Signal testing |
| Service Diagnostic Tool | Controller input diagnosis |
The elevator testing tools required depend on the elevator controller and button technology.
Always follow the applicable electrical safety procedures when testing circuits.
How to Test a Traditional Elevator Button
For a conventional mechanical button, the basic diagnostic logic is:
Button pressed → electrical contact changes → input signal reaches controller → controller recognizes command → corresponding indicator operates
If the sequence stops at one stage, the technician can narrow down the fault.
For example:
Button physically works but no input
Check:
- Contact
- Wiring
- Connector
- Input circuit
Input works but indicator is off
Check:
- LED
- Lamp
- Indicator circuit
- Supply
Button and input are normal but elevator does not respond
Check:
- Controller logic
- Communication
- Related safety conditions
- Elevator operating mode
This systematic approach reduces unnecessary replacement of lift spare parts.
Elevator Button Replacement Procedure
When a button is confirmed defective, replacement should be performed carefully.
Step 1 — Identify the Original Part
Record:
- Elevator manufacturer
- Elevator model
- Button model
- Original part number
- Button color
- Button dimensions
- Connector type
- Voltage
- Indicator type
The original part number is especially useful when purchasing an elevator spare part.
Step 2 — Compare the Replacement
Before installation, compare:
- Physical dimensions
- Mounting method
- Connector
- Electrical characteristics
- Button marking
- Indicator configuration
A visually similar button may not be electrically compatible.
Step 3 — Remove the Existing Button
Follow the elevator manufacturer's maintenance procedure.
Before working on electrical connections, establish the required maintenance safety controls.
Step 4 — Install the New Button
Install the replacement carefully.
Check:
- Correct orientation
- Secure mounting
- Connector position
- Wiring
- Panel alignment
Step 5 — Test the Button
After installation:
- Press the button repeatedly.
- Confirm mechanical operation.
- Verify indicator operation.
- Confirm controller recognition.
- Test normal elevator operation.
Elevator Buttons and Accessibility
Elevator buttons may also play an important role in accessibility.
Depending on the applicable elevator code and installation requirements, accessibility-related features may include:
- Tactile markings
- Braille
- Appropriate button size
- Visible indicators
- Audible confirmation
- Appropriate button positioning
Requirements vary by jurisdiction and elevator standard.
When replacing an accessibility-related button, the replacement should maintain the required functionality of the original installation.
Elevator Button Maintenance Checklist
Physical Condition
- Button cap is not cracked.
- Button marking is readable.
- Button is correctly positioned.
- Button does not stick.
- Button returns correctly.
Electrical Condition
- Connector is secure.
- Wiring is intact.
- Button input is recognized.
- Indicator operates correctly.
Panel Condition
- COP/LOP panel is secure.
- No loose components.
- No visible damage.
- Panel connections are secure.
Final Test
- Every required button has been tested.
- Floor selection operates correctly.
- Door open/close buttons operate correctly.
- Indicators operate correctly.
- Elevator returns to normal service.
Common Mistakes When Replacing Elevator Buttons
Avoid these common errors:
❌ Ordering a button based only on appearance
❌ Ignoring the original part number
❌ Installing the wrong voltage
❌ Using an incompatible connector
❌ Ignoring indicator specifications
❌ Replacing the button without checking wiring
❌ Assuming an unlit button cannot send an input
Proper diagnosis can save significant time and reduce unnecessary elevator spare part replacement.
Lift Buttons and Other Elevator Spare Parts
During COP and LOP maintenance, technicians may also inspect:
- Lift buttons
- Elevators buttons
- Elevator door lock
- Door open/close buttons
- Emergency buttons
- Door sensors
- COP PCB
- LOP PCB
- Communication boards
- Door operator components
These products are commonly included in the catalog of lift spare parts used by elevator maintenance companies.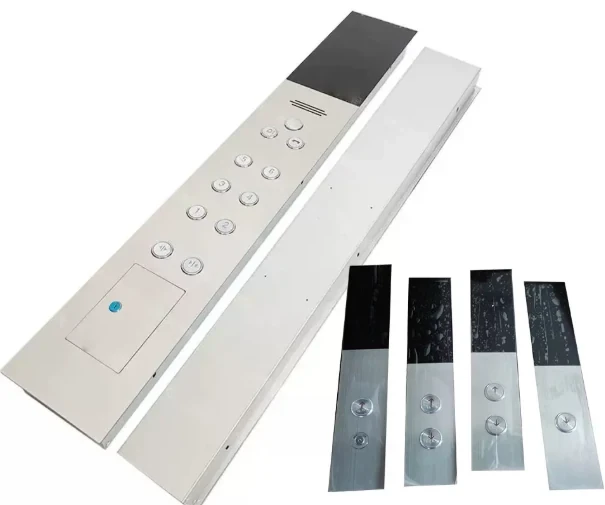
How to Choose a Reliable Elevator Parts Supplier
When purchasing elevator parts for sale, a reliable elevator parts supplier should be able to provide accurate technical information.
For elevator buttons, ask for:
- Original part number
- Product photos
- Dimensions
- Voltage
- Connector information
- Button type
- Indicator type
- Applicable elevator model
A supplier with technical support can help reduce the risk of ordering an incompatible elevator spare part.
Frequently Asked Questions
What are lift buttons?
Lift buttons are passenger or technician input devices installed in elevator COP, LOP, and other control panels.
What is the difference between COP and LOP buttons?
COP buttons are located inside the elevator car and are primarily used for car-related commands. LOP buttons are located on the landing and are primarily used to call the elevator.
Why does an elevator button not light up?
Possible causes include a failed LED or lamp, wiring problems, connector issues, or an indicator circuit fault. The button input itself should also be tested.
Why does an elevator button work intermittently?
Common possibilities include worn contacts, loose wiring, connector problems, PCB issues, or communication faults.
Can I replace an elevator button with a similar-looking button?
Not necessarily. Electrical characteristics, dimensions, connector configuration, indicator type, and controller compatibility must be verified.
What elevator testing tools are useful for elevator button maintenance?
A digital multimeter, appropriate test leads, insulated hand tools, inspection lighting, and controller diagnostic equipment may be useful depending on the elevator system.
Conclusion
Lift buttons are small components, but they are an essential interface between passengers and the elevator control system. Reliable elevator buttons ensure that passenger commands are correctly entered and communicated to the elevator controller.
When a button fails, technicians should avoid immediately replacing the component. A systematic inspection should determine whether the problem originates from the button, indicator, wiring, connector, PCB, communication system, or controller input.
When replacement is necessary, always verify the original part number, electrical characteristics, dimensions, connector, and elevator model before ordering an elevator spare part.
For maintenance companies purchasing lift spare parts or elevator parts for sale, working with a professional elevator parts supplier can help ensure compatibility and reduce repeat maintenance.
With the correct elevator testing tools and a systematic troubleshooting procedure, technicians can diagnose elevator button problems more efficiently and keep elevator systems operating reliably.


